
Let us jump into working with LAYERS!!
No, don't run away just yet. Working with layers is a total non-event but let us ease into it.
Make no mistake, working with layers can and does get very complicated but if you understand the basic idea you can do anything if you have a monster PC to manage the files without hanging.
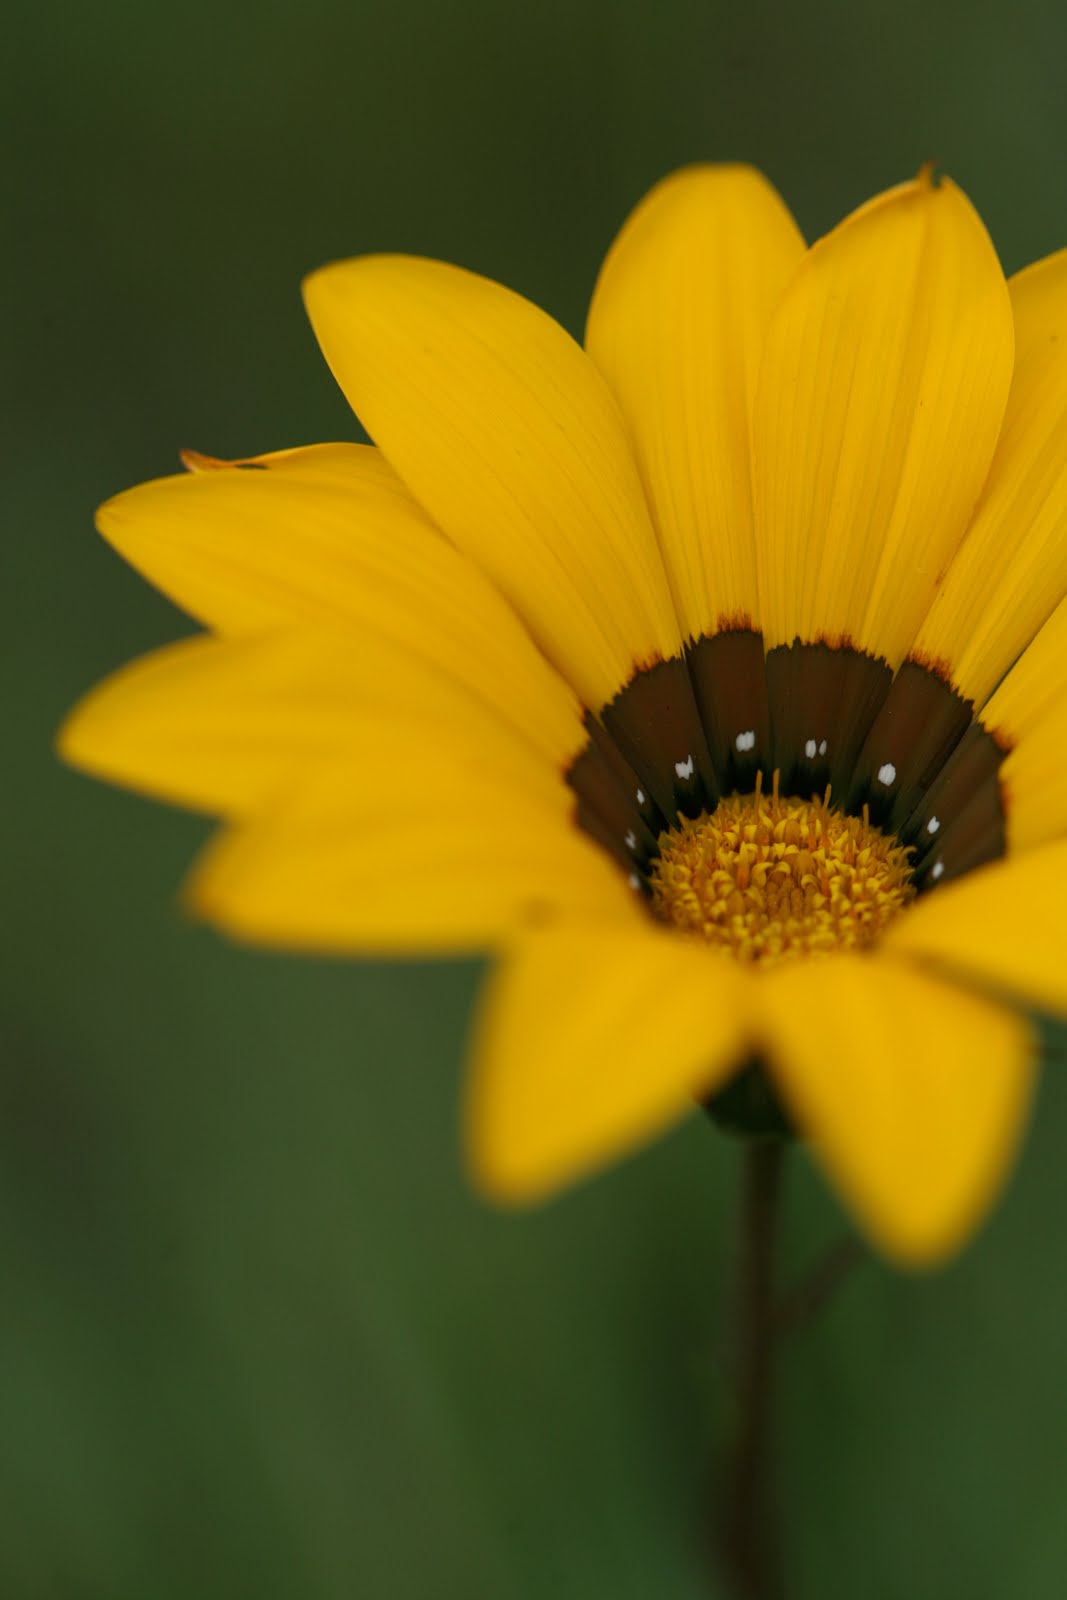
Not a bad image, straight off the camera as I always shoot RAW + Jpeg and this image is the small low quality Jpeg. I have since adjusted the settings to small but highest quality for the Jpeg accompanying the RAW file.
I do this because I always attempt to get it as right as possible at the time of exposure and having a small Jpeg at hand is convenient for publishing to the net or e-mailing or Facebook or whatever the need is at the time.
Only problem is that this image lacks vibrant colour...or punch as we sometimes say. The image was shot overexposed slightly, which is always a good thing to do but it looks a bit flat.
We fix it with LAYERS!!
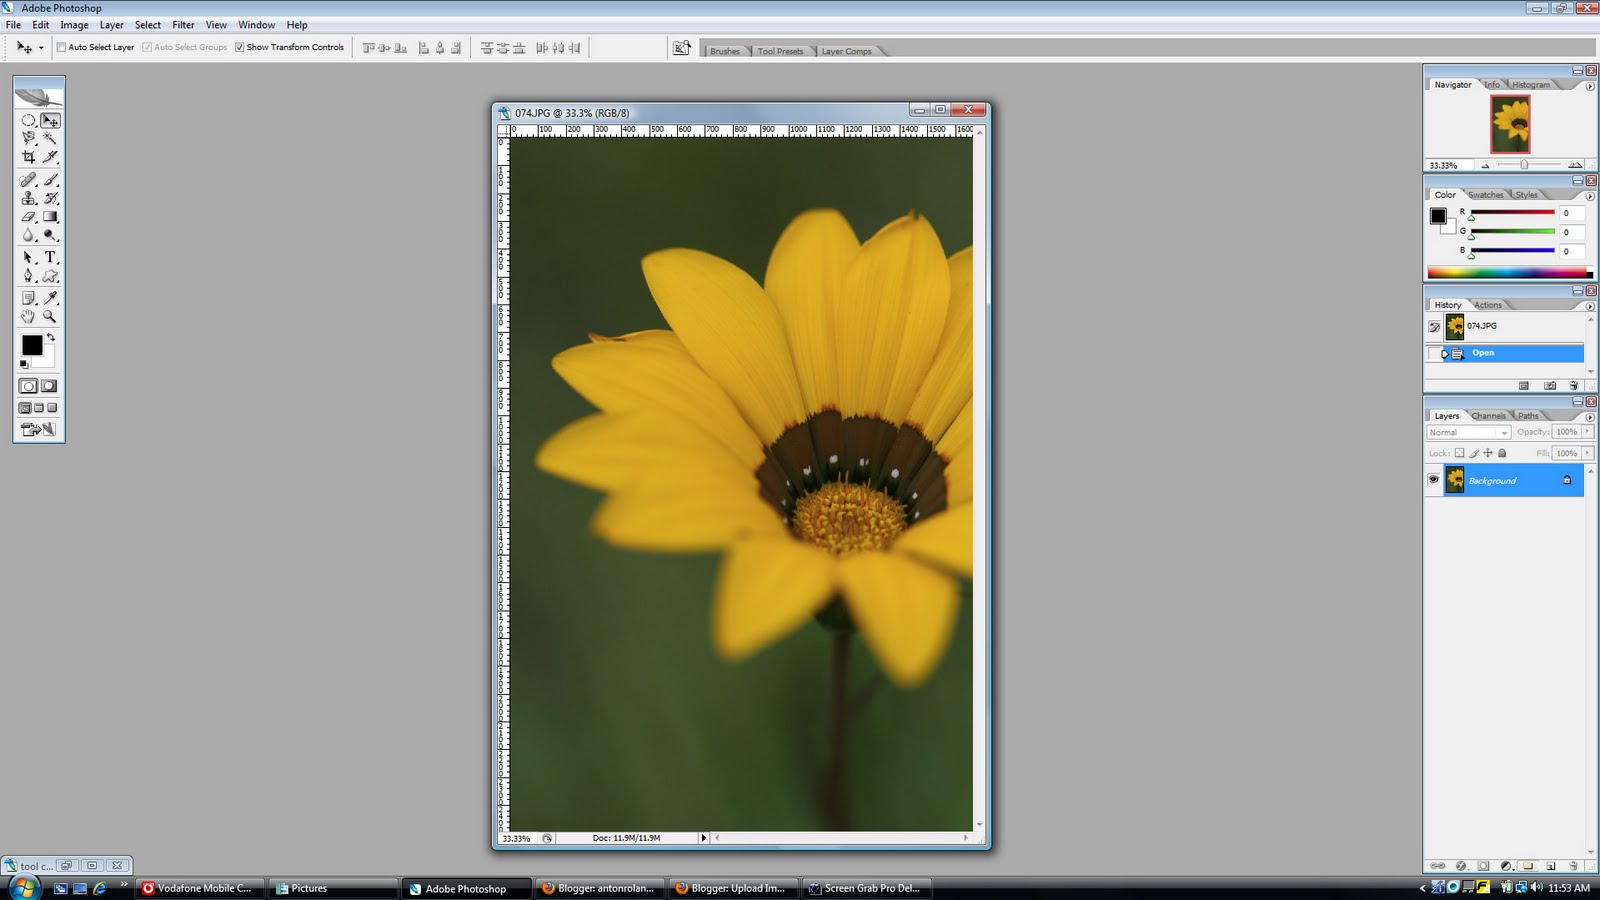
This is what the image would look like when opened in Photoshop CS 2
And this is what it looks like on my screen:

The only real difference is that I dragged my palettes all over the place. The "Layers/Channels/Paths" palette was at the bottom right. Directly above this was the "History/Actions" palette. This now sits at the left next to the Tool palette.
The remaining two palettes remain top right as they were...for now.
This is how I do it now. It might change in a week or two but as we learn and progress in Photoshop the program can be tweaked to suit our work methods...in ways I don't even begin to understand but it can be done.
If, at any time, you want to restore the palettes to their default places and sizes, simply go to the File, Edit, Image menu system top left, select "Windows > Workspace > Reset Palette Locations and everything jumps back to where it was.
The reason for moving stuff around will soon become evident, I promise.
Let us establish a convention. My wife regularly accuses me of rambling on in geekspeak so I propose to do the following: Whenever I launch into a technical tangent I will try to do so in bright blue text...like so.
That way, when you see the bright blue text, feel free to move along swiftly...at your own risk though as you will see that material again.
The reason why it is better to start using layers off the bat is (1) we get an immediate or much quicker understanding of the basic principles of layers and (2) advanced edit options open up without having to close and start afresh and waste time.
OK, back from planet geek...

OK, so things suddenly started looking a wee bit complicated but let us take a look step by step at what now happened here.
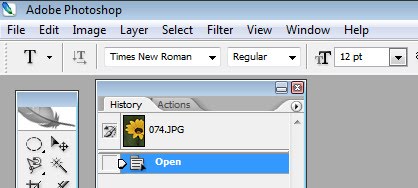
Consider the red arrow above now pointing at the Layers Palette. What you see there is a layer. It is typically what a Jpeg opened in Photoshop will alway look like. From left to right you will see a little black eye in a grey tick block. This will become important again later.
This layer highlighted in bright blue (indicating that it is the actve layer) contains a very small thumbnail image of the open image and it also happens to contain a little lock indicating, you guessed it...it is locked.
Now let's get going...
I hope to figure out a way to take a screen grab while hovering the mouse in the right place but having to use the mouse means two things at the same time...a bit difficult...
OK, go here:

A little pop-up window like this one will appear:

Click on OK and don't worry too much about the other options. To be very honest I don't have a clue either but we will find out together...eventually.
The Curves dialogue box will now pop up and it looks like this:

Please note the difference in the Layers Palette. There is now a new blue (active) layer labelled "Curves 1". Please note the little diagrams inside it which partly identify it as a "Curves adjustment layer" but as for the others I really don't have a clue...yet.
As I am also quite sneaky I will hide the parts where I admit not to know in blue geekspeak where most of you will hopefully scroll past...oops, shouldn't have said that should I?
Now, the way to go with the Curves diagram is to drag it into a gentle S by left clicking on the diagonal line and, while holding the left-click button, dragging the straight line into curves and watch what happens as you do so ...like so:
Please note the red arrow which points to a checked "Preview" box. Always ensure that this box is checked so that any alterations to the curve show you what changes you make as you make them.
Now go to the Layer Menu again and left click on the "Flatten Image" command line.

Have a look at the Layer Palette and we see that there is only one layer again and now we can save the image for the intended use.
This part in itself deserves an article so let's stop there for now. Here's hoping I can do a small mid-week article to cover some of the peripheral matters.
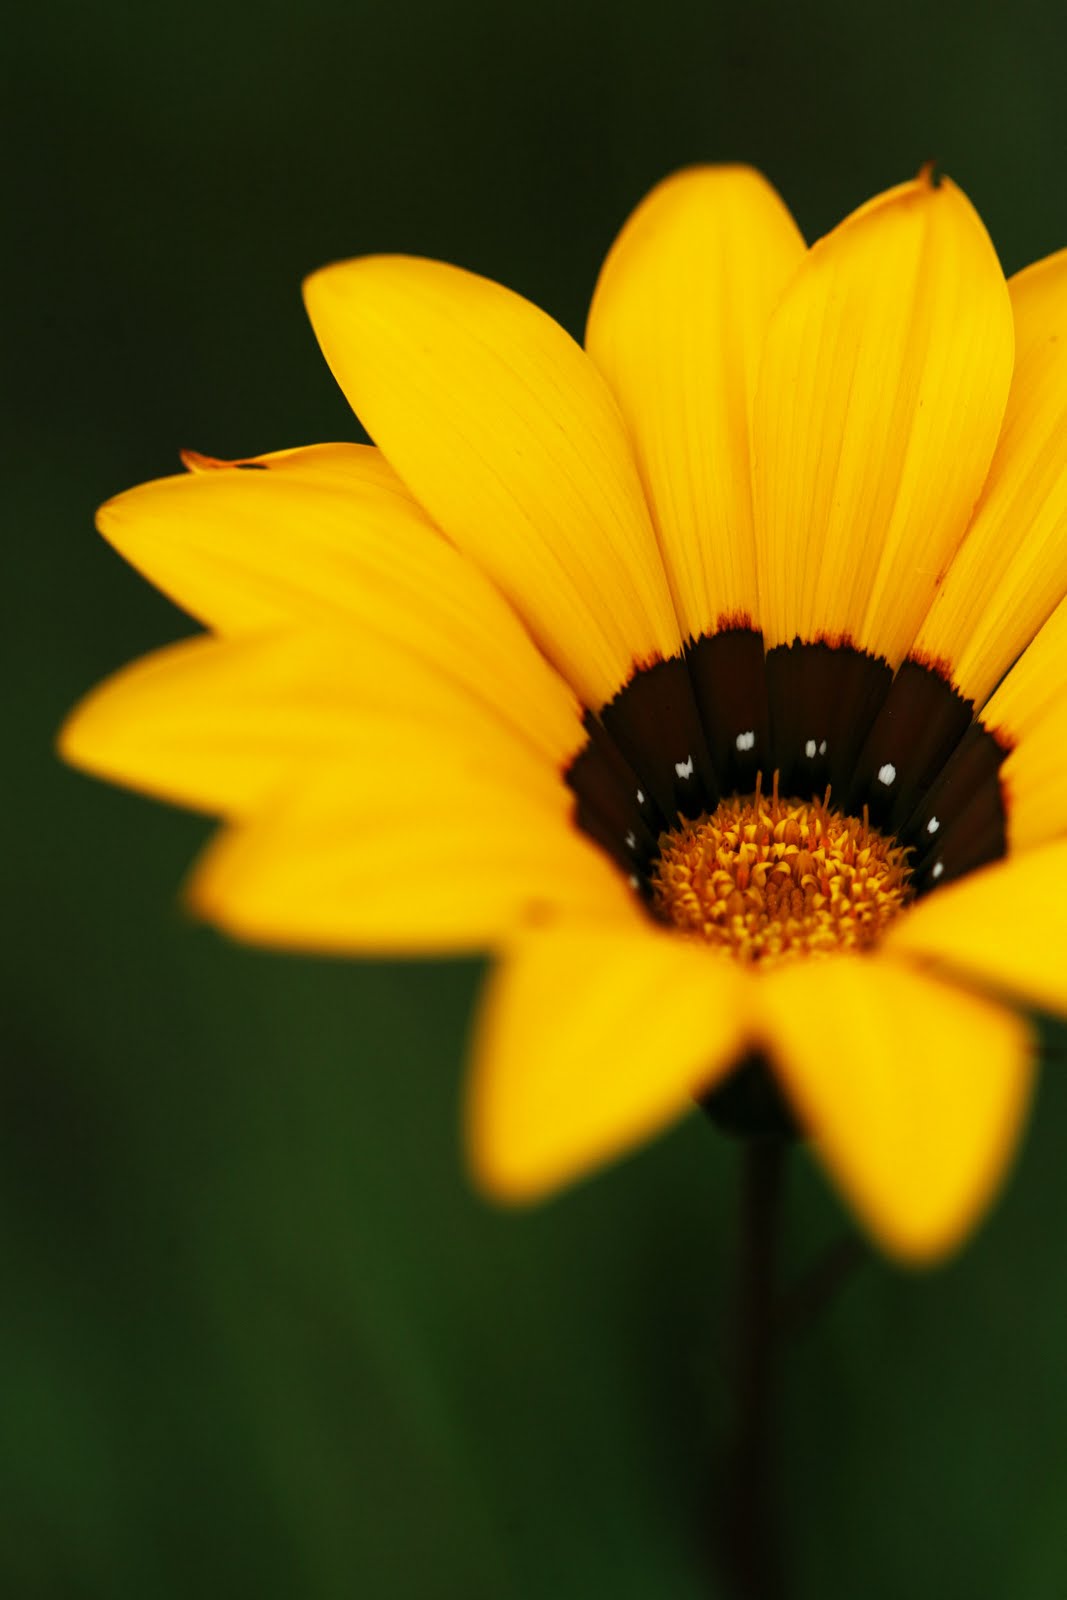
The end result of this little mission? Two-fold really.
First, we lifted the colour of a flat image and gave it some punch.
Secondly, we (YOU!) worked with layers. Early days yet but it wasn't that difficult was it?
As for the results? This was a quick "rough-and-ready" edit to illustrate the method. The real results are up to you.
As for the curves method, play around and go crazy. Some really wacky creative results can be had if you really go crazy with it.
Enjoy!!

2 comments:
I think I need to get Photoshop first.
Welcome to my blog and allow me to congratulate you as the first visitor, LOL...well, the first to leave a message at least.
I would like to know your opinion if there is anything I can do to improve this blog.
Have a great week!
Anton
Post a Comment