
Central to these 3 clowns are a big bad wolf that lurks in the dark corners of the camera and mess up the images we hope to capture...the TTL light meter.
In this article I hope to explain the interaction of the 3 exposure parameters with the camera's TTL light meter.
The exposure parameters are confusing enough as it is but hopefully they are a bit easier to understand now. The only problem is that, in the digital age more than ever, they all submit to the TTL (Through The Lens) light metering and this TTL metering has a controlling share of all the aspects that we should control.
To those of us who speak English that simply means that, no matter what mode you set your camera to or whatever settings you adjust the 3 exposure parameters to, 2 things are certain... (1) the camera's TTL light meter will have a major if not final say and (2) the basic laws of photograpy will apply...those 3 guys...master them!
Demystifying the light meter...
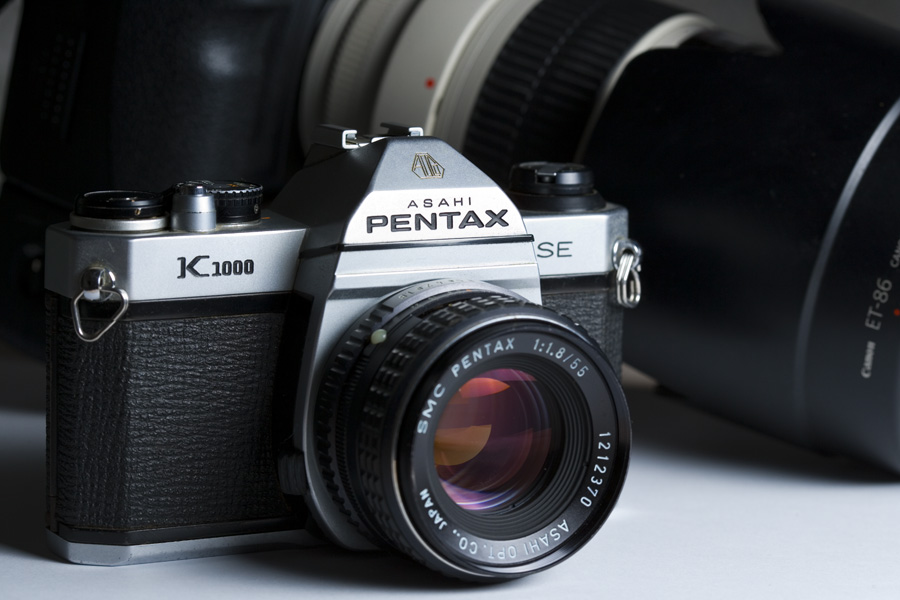
Light meters used to be basic little needles in the viewfinder which gave a rough idea as to overexposure, underexposure and correct exposure. Remember this guy?
In doing so it got opinions from those other 3 guys and made a decision of too little, too much or sufficient light. But in terms of what?
A brief history of TTL light meters.
In these mechanical and wonderfully simple times the needle in the viewfinder would constantly indicate the amount of light passing through the lens.
In days gone by the light meter was the only thing in the camera that needed battery power.
It would consider the mechanically fixed aperture inside the lens, the ISO speed of the film in the body and the speed to which the very mechanical shutter speed control knob was set.
The combination of these 3 inputs would cause the needle to show the very basic degree of exposure...over, under or correct...and correct was and still is relative.
The CATCH!
Here is the catch...your camera's TTL light meter is looking for this:

Your camera's light meter does not understand colour or what you intend to capture. It understands the intensity of light evened out over the whole image and that is it!
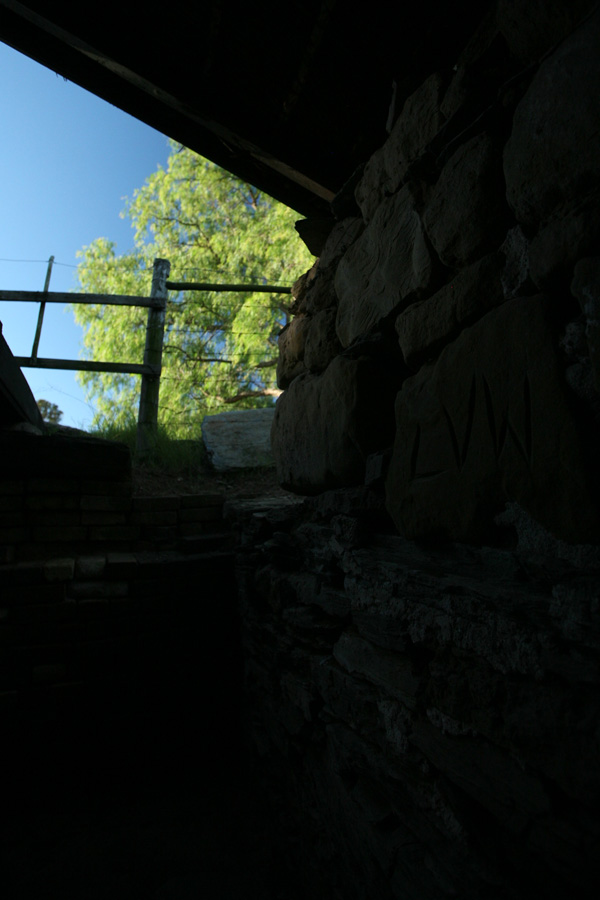
It does not understand this:

or this:

and definitely not this:
It understands light intensity measured against the three exposure parameters the camera is set to and the only thing it is interested in is evening out all the bright highlights and all the dark shadows in the scene to get to this:
Simply put, if all those exposure parameter settings applied to the camera at the time all highlights + all shadows + all mid-tones in the image = the above 18% grey, the light meter will tell you that you can take the picture.
Or another way of looking at it, if the light passing through the lens (at ISO set to 200 with a shutter speed of 1/125 second and at an aperture set to f/5.6) will yield enough light to even out to mid grey over the whole image, the TTL light meter will be happy.
Some modern flavours on TTL metering.
Reading the appropriate sections in your camera's manual you will come across concepts such as Evaluative Metering, Spot Metering, Centre-Weighted Averaged Metering and a few others depending on your brand of camera.
These are all different ways in which the TTL light meter will interpret the scene being photographed. Some of them have a purpose but that purpose will have little meaning before we have a grasp of the basic way in which the TTL light metering interacts with the rest of the camera.
Until we understand the role of the light meter and how it governs the rest of the photographic processes inside the camera there will be a fairly large degree of hit-and-miss results.
Some related thought on modern equipment...
There are numerous factors which have a bearing on exposure adjustments from film days to the latest D-SLR cameras and even simply trying to mention all of them would defeat the purpose of this article.
Dynamic range is one that deserves a quick mention but even this could complicate matters so let us hold it over for another day.
The solution in mastering the light meter?
Simple, really, learn to make do without it!
Yes you can!
By the time you miss it you will be well on your way to shooting on fully Manual settings anyway and you will then have no problem of balancing your scene with what the camera's light meter is telling you.
For some homework, master the sunny f/16 rule:
Set the camera to f/16. This will yield great depth of field.
Set the shutter to 1/100 or 1/125.
Set the ISO to 100.
Now go and take some pictures in bright sunlight and see what the results are like. If your camera is not capable of ISO 100, set it to ISO 200 by all means BUT compensate by setting the shutter faster say, from 1/125 to 1/250 OR the aperture from f/16 to f/22.
As the light goes down you will have to sacrifice depth of field by opening up the lens to maintain the fast shutter speed.
Conversely you might want to maintain the large depth of field and this might mean opening the shutter for longer...beware of shutter speeds long enough that hand-held shooting is no longer possible.
Learn to compensate as you give and take in this 3-way relationship and see the results.
The biggest trick so far was learning about the three exposure parameters AND how the light meter governs them.
Now we can move on to other aspects if you want to allow the camera some control in the "cheat modes"
For those not interested in fully Manual shooting, be sure to look out for the next article
coming up...P,A,S,M...Av, Tv, Program and all those explained...
Woohoo!! No geekspeak this time too!
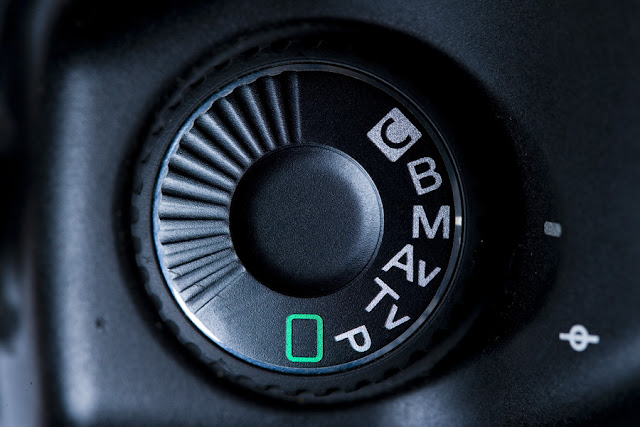
Now we are ready for this button:
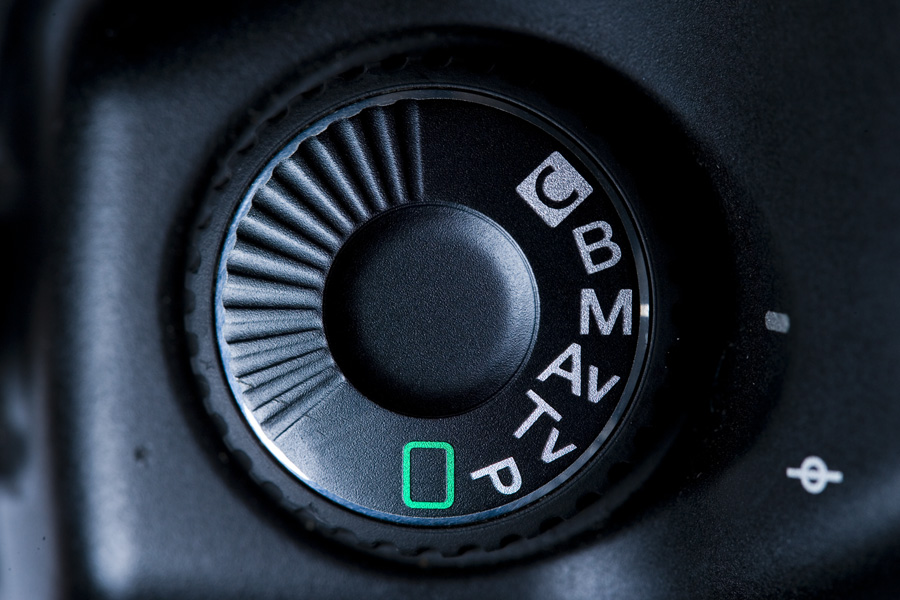
Enjoy and more on this next time!
Woohoo!! No geekspeak this time too!
No comments:
Post a Comment